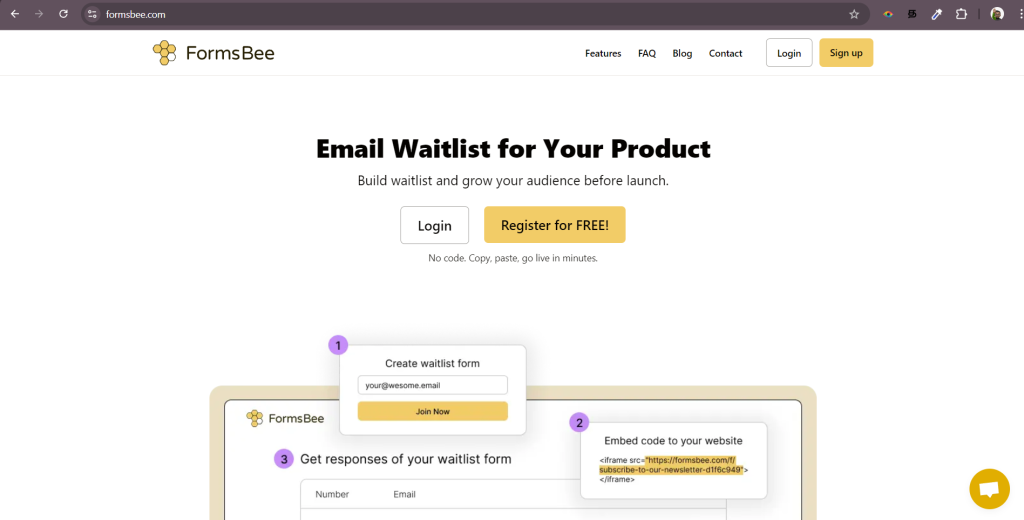
Thanks for signing into FormsBee.
Step 1
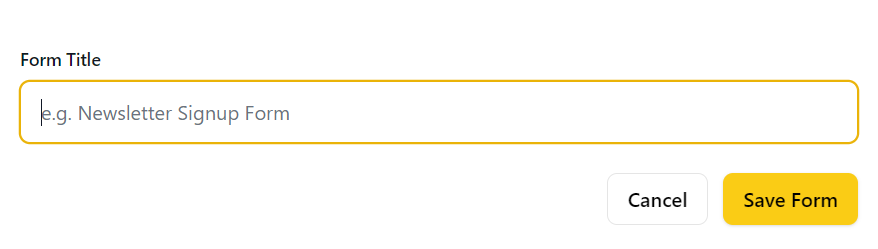
Create a new form by clicking on the “+ Create New Form” button at the top right of the my forms page.

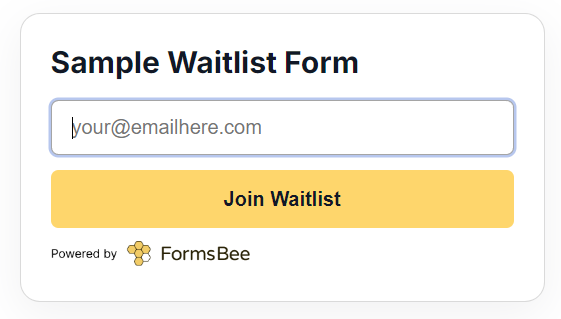
Name your form. This will act as the title that appears above your email input and button.
Hit “Save Form”. Now your email waitlist form is created.
Step 2
Your newly created form will appear on the my forms list. Now we an embed it into your website.
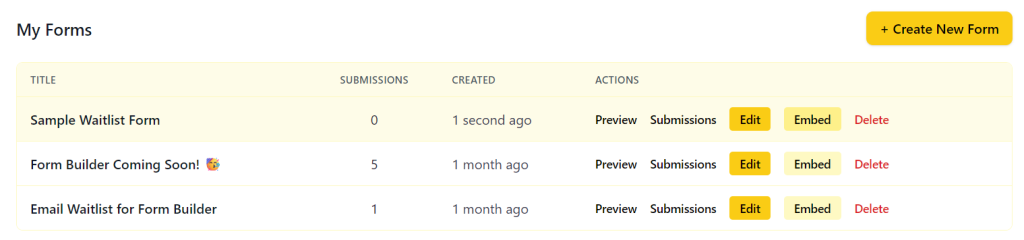
Click on the “Embed” button on the same row of your newly created form.
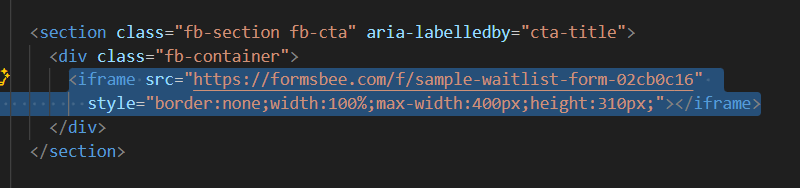
A popup with iframe embed code will appear.
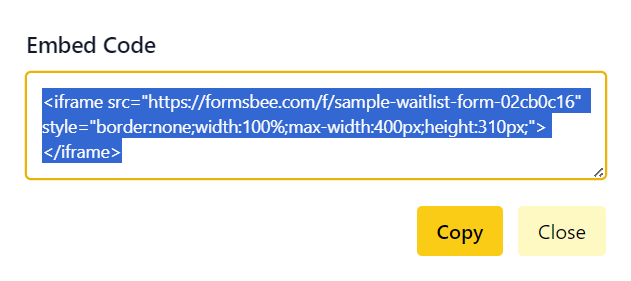
Click on the “Copy” button to copy the embed code to your clipboard.
Now you can share the copied with your developer to add it into your website. Or you can open your code (if you know how to edit and update your code) and pasete the code into the part where you want to show the email caputring form.
And save your code. You can check if the embeded form is visible on your local machine and publish your changes live.
Wolla, now your email capture form is live. 🥳
Step 3
Your can test your form now and all your responses will be stored against your form inside the submissions page.

Click on Submissions to view and export responses anytime.

You can always preview, edit to change the form name and also can delete any form if you don’t need it anymore.
Keep in mind that if a form is deleted the embed code will show 404 page not found error. So make sure to remove embedded codes if you’re deleting any form.
Hope this guide helps you. If you need any help in using formsbee, drop an email to uxsubash@gmail.com or directly message me through WhatsApp +918012390404 💬 if that’s comfortable.
Best – Subash