Images are the soul of the web, driving engagement and telling your story. However, they are often the single largest culprit behind slow website loading speeds. In a world where every millisecond costs you a visitor, mastering image optimization is non-negotiable.
This guide provides a step-by-step framework covering the three pillars of fast image delivery: Format Selection, Compression, and Loading Strategy (Lazy Loading).
Step 1: Choosing the Perfect Image Format (WebP vs. JPEG vs. PNG)
Choosing the correct file format is the foundational step. The goal is to select the format that offers the best quality at the smallest file size.
| Format | Best Use Case | Key Features |
| WebP | Universal Best Choice. Photographs, graphics, and icons (where supported). | Superior Compression: Offers smaller file sizes than JPEG or PNG (often 25-35% smaller). Supports both lossy and lossless compression, and transparency. |
| JPEG (JPG) | Complex Photographs. Images with lots of color variation and gradients (e.g., landscapes, portraits). | Lossy Compression: Removes some data to achieve small file sizes. Does not support transparency. |
| PNG | Simple Graphics, Logos, and Icons. Images requiring transparency or perfect color fidelity (lossless). | Lossless Compression: No data is lost, resulting in perfect quality but much larger file sizes than JPEG or WebP. Supports transparency. |
| SVG | Vector Graphics, Logos, and Simple Icons. | Scalable: Based on XML text, they scale infinitely without losing quality. Extremely Small file sizes. |
🎯 The Modern Format Strategy
For almost all use cases, WebP is the most efficient choice. However, not all older browsers support it, so a fallback strategy is essential.
Use the HTML <picture> element to serve WebP to modern browsers and fall back to JPEG or PNG for older ones:
HTML
<picture>
  <source srcset="image.webp" type="image/webp">
  <img src="image.jpg" alt="Description of the image">
</picture>
Step 2: Optimizing and Compressing the Image
Once you have chosen the format, you must minimize its physical size (dimensions) and its weight (file size) through compression.
A. Size Appropriately (Scaling)
Never upload an image that is significantly larger than its display size. If a post image displays at a maximum width of 800 pixels on your blog, uploading a 4000-pixel wide photo is a massive waste of bandwidth.
- Action: Resize the image to its maximum needed display width before uploading.
- Bonus: Use responsive images with the
srcsetattribute to serve different sizes to different screen resolutions (e.g., small file for mobile, large file for desktop).
B. Choose Your Compression Type
Image compression is the process of reducing the file size.
1. Lossless Compression (for PNG and WebP)
This technique reduces file size by removing metadata (like camera settings or GPS data) without reducing image quality. The resulting image is pixel-perfect.
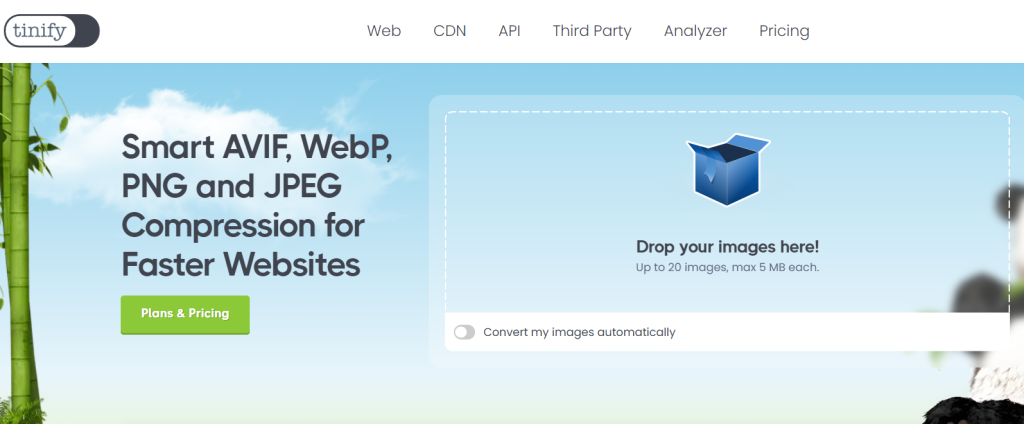
I personally use and recommend https://tinypng.com/ to compress images.
2. Lossy Compression (for JPEG and WebP)
This technique achieves significantly smaller file sizes by discarding subtle data that the human eye is less likely to notice.
- Action: When saving a JPEG, always aim for a quality setting between 60 and 80. This often results in a massive size reduction with minimal visual degradation.
C. Tools for Compression
You should use automated tools to handle compression optimally:
- Online Tools: TinyPNG (also works great for JPEG), Squoosh.
- CMS Plugins: Plugins for WordPress (Smush, Imagify), Shopify, etc., can automatically optimize images on upload.
- Build Tools: Developers can integrate tools like Imagemin into their workflow.
Step 3: Implementing Lazy Loading Strategy
After optimizing the file, the next step is optimizing when the file loads. This is where Lazy Loading comes in.
What is Lazy Loading?
Lazy loading defers the loading of images that are off-screen (below the fold) until the user scrolls them into the viewport. This dramatically speeds up the initial page load time, especially on content-heavy pages.
How to Implement It
Modern browsers have made lazy loading incredibly simple. You can enable it with a single HTML attribute, eliminating the need for complex JavaScript libraries.
- Action: Add the
loading="lazy"attribute to your<img>tags:
HTML
<img src="optimized-image.jpg" loading="lazy" alt="A photo description">🛑 The Critical Exception: Eager Loading
While you should lazy load almost all images, you must eager load the images that are immediately visible when the page first loads (the above-the-fold content).
- Reason: If you lazy load the main hero image, the browser has to wait for JavaScript to execute before requesting it, resulting in a large content shift and a poor user experience (high LCP score).
| Image Type | Recommended Loading Value |
| Hero Image/Logo (Above the fold) | loading="eager" (or omit the attribute) |
| Gallery Images/Footer Images (Below the fold) | loading="lazy" |
Summary and Checklist
Image optimization is not a one-time task—it’s a workflow. Follow this checklist for every image you add to your site:
- ✅ Format Choice: Prioritize WebP with JPEG/PNG fallbacks. Use SVG for logos and icons.
- ✅ Sizing: Resize the image to its maximum needed display dimensions. Use responsive image techniques (
srcset). - ✅ Compression: Use a quality setting of 60-80 for lossy formats (JPEG/WebP) and run PNGs through a lossless optimizer.
- ✅ Lazy Load: Add
loading="lazy"to all images below the fold, and make sure the critical above-the-fold images are set to load immediately (eager).
By implementing these steps, you will significantly reduce your page weight, improve your Core Web Vitals, and deliver a faster, more professional experience to every visitor.